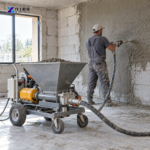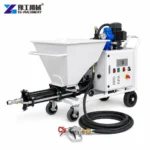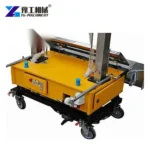
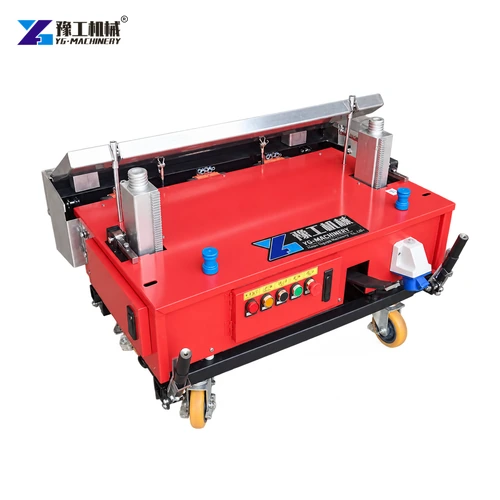
A cement plastering machine spreads and levels prepared mortar across a vertical wall using a guided lifting frame. It is intended for repetitive wall-finishing work where the base is accessible, the wall geometry suits the guide system and the mortar remains workable throughout the pass. The machine does not replace surface inspection, mortar control or corner and opening work; it standardizes the main wall area after those conditions are prepared.
YG-800 and YG-1000 cover different maximum plastering heights. Model selection should begin with measured floor-to-ceiling height, required plaster thickness, wall length, door and window layout, power supply, access route and the mortar recipe used on site. These inputs determine whether the frame can be positioned correctly and whether the crew can maintain a repeatable feed and finishing cycle.
Continue the selection with the automatic wall plaster machine, mortar sprayer machine, and cement spray machine where those pages match the project task.
Send the project dimensions, material and working conditions for an initial configuration review.

Check Whether the Wall Suits a Cement Plastering Machine
Measure the clear wall height at several points and mark beams, columns, openings, embedded services and floor-level changes. The guide frame needs a stable base and enough overhead clearance to complete its vertical travel. Narrow returns, stairwells, heavily interrupted walls and areas behind installed services may still require manual work, so separate the machine area from the hand-finishing area before estimating output.
Inspect the substrate for loose material, oil, dust, severe waviness and active moisture. Complete the specified cleaning, repair, bonding or wetting procedure before placing mortar. A machine can level material within its working range, but it cannot make a weak substrate sound. Establish control lines and thickness reference points so the operator has a measurable wall plane rather than judging the result only by appearance.

Match Mortar Condition to the Wall Plastering Cycle
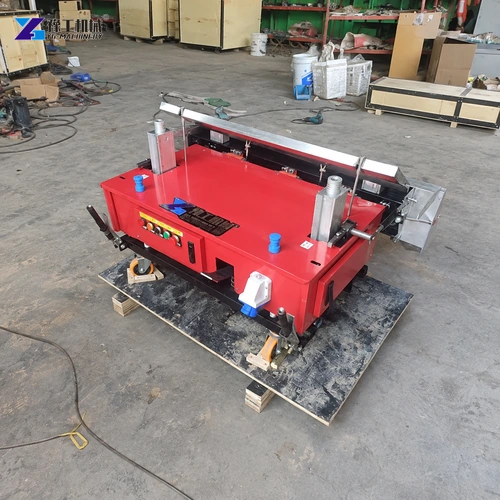
Use the approved cement mortar formulation and keep aggregate grading, water addition, mixing time and batch age consistent. Oversized particles or partially hardened lumps can interrupt feeding and leave drag marks. Mortar that is too wet may slump after the machine passes, while dry or rapidly stiffening mortar may not spread and bond uniformly across the wall.
Prepare only the quantity that the crew can load and apply within the material’s usable time. Keep the supply route short, protect batches from contamination and record adjustments by batch. Before full production, place a representative test panel and check adhesion, flatness, thickness, surface texture and the time available for any final hand finishing. The accepted mix and workflow should then be repeated, not improvised for every wall.
Share the working range and test conditions so the product can be matched to the real job.
Compare YG Cement Plastering Machine Models
Use the table as one model-selection record. Height, machine mass, plastering thickness, power, voltage and listed shift efficiency must remain attached to the same model. Final output depends on wall continuity, material supply, repositioning, opening density, cleaning and acceptance checks, so the project schedule should include those activities rather than treating the listed efficiency as guaranteed finished area.
| Parameter | YG-800 | YG-1000 |
| Maximum plastering height | Below 4 m | Below 5 m |
| Machine weight | 270 kg | 290 kg |
| Plastering thickness | 2–30 mm | 2–30 mm |
| Power | 1.5 kW | 1.5 kW |
| Listed plastering efficiency | 500 m² / 8 h | 550 m² / 8 h |
| Voltage | 220 V / 380 V optional | 220 V / 380 V optional |

Set the Cement Plastering Machine on the Wall Line
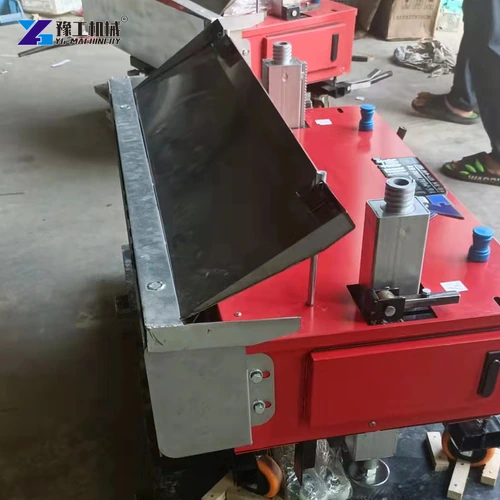
Move the machine through the real access route before work begins and confirm floor capacity, doorway width, turning space and safe electrical routing. Position the frame square to the wall, stabilize the base and set the plastering height and thickness references from the approved control points. Check that the lifting path is clear and that no person can enter the moving zone during a cycle.
Load a controlled amount of mortar and run the first pass at a pace that lets the crew observe feeding, lift stability and edge behavior. Measure the placed thickness at the agreed locations and inspect the top, bottom and side transitions. Correct setup, material or wall preparation before continuing; repeating a poor pass over a long wall creates more removal and repair work than stopping after the test panel.
Send the site layout and required operating sequence for a practical package review.
Plan Crew Work around Openings, Corners and Cleaning
Assign responsibilities for mortar preparation, loading, machine positioning, control-line checks, edge finishing and cleaning. Door and window reveals, internal corners, small wall returns and service penetrations need a defined hand-finishing sequence. Coordinate that work with the machine passes so wet joints remain manageable and the crew does not damage areas that have already been leveled.
At each relocation, remove material from contact surfaces and inspect cables, lifting components, guides and adjustment points. At shift end, clean the machine before mortar hardens, isolate electrical power and record defects or abnormal movement. Routine cleaning is part of production capacity because dried mortar changes clearances and makes the next setup less repeatable.


Request a Cement Plastering Machine Configuration
Send wall height and length, plaster thickness, mortar composition, aggregate size, building layout, opening schedule, floor condition, voltage, access dimensions, destination and target workload. Photographs with measured reference points help identify overhead restrictions and areas that remain manual.
Ask for the selected model, machine dimensions and weight, power supply, standard tools, loose parts, recommended wear items, manuals, packing and test scope on separate quotation lines. The proposal should also state the wall and material information used for selection so the site team can prepare the same conditions before commissioning.
Provide the destination, schedule and accessory list for an itemized quotation.
Cement Plastering Machine for Interior Wall Finishing FAQ
No. Openings, corners, narrow returns and obstructed areas may still need manual preparation and finishing.
Provide the approved mix, aggregate size, water control, usable time and required finished thickness.
The main listed difference is maximum plastering height, with corresponding differences in weight and listed shift efficiency.
Check adhesion, thickness, flatness, surface texture, top and edge transitions and the available finishing time.