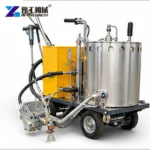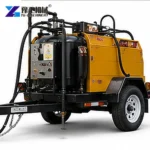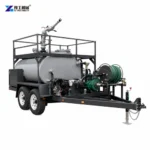
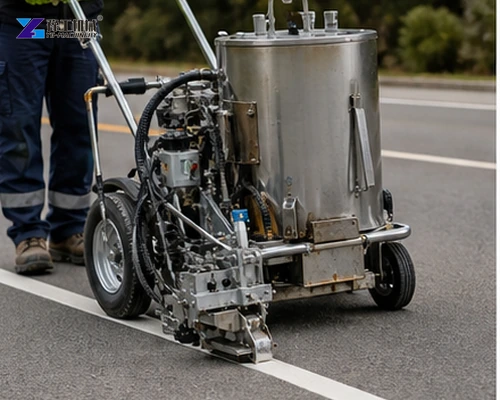
A thermoplastic striping machine controls only part of line quality. Material condition, pavement preparation, premarking, screed setup, operator pace, glass-bead delivery and traffic reopening all affect thickness, edge definition and visibility. A straight line can still fail if it is placed over moisture, loose surface material or an incompatible old coating. The crew must treat heating and application as one timed workflow.
YG lists a 120 kg paint bucket, 25 kg glass-bead capacity, adjustable 100–450 mm marking width and 1.8–3.0 mm thickness for the thermoplastic model. These figures define the machine envelope. The usable setting must follow the approved material, road specification, ambient conditions and trial strip.
For mixed road programs, compare the thermoplastic setup with the cold-paint options on the YG road line marking machine page; surface defects should be repaired with appropriate asphalt crack filling equipment before markings are placed.
What Must Be Checked Before Thermoplastic Is Heated?
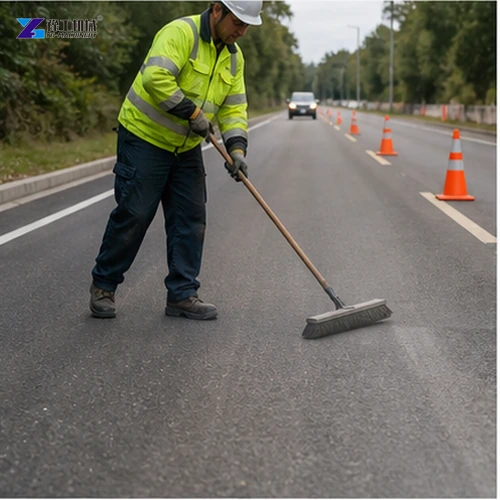
Confirm the approved material batch, manufacturer heating range, pavement type, existing marking, required line pattern and weather window. Inspect the route for water, dust, oil, loose aggregate, sealant and failing pavement.
Complete structural repairs first and use the specified primer where required. Establish traffic control and emergency arrangements before opening bags or lighting the heater. A crew should never hold hot material longer simply because the road is not ready.
Check burner, kettle, valves, screed, bead drive and emergency equipment before each closure. Planned cleaning and spare parts prevent residue or a small failure from changing line quality.
Send the road type, line pattern, working width and closure window so the project setup can be reviewed.
How Should The Crew Control Material Temperature?
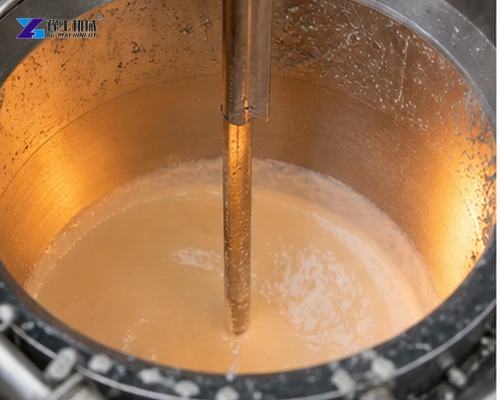
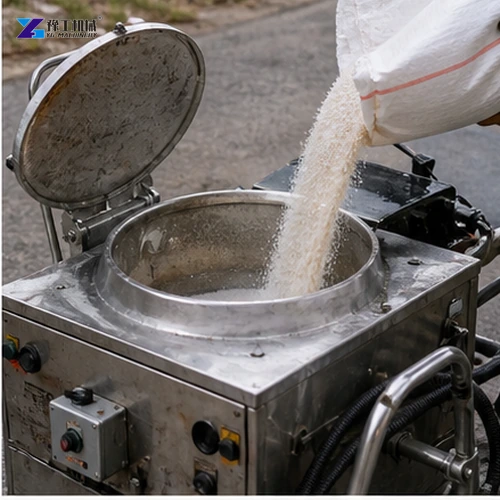
Use calibrated temperature measurement and follow the material supplier limits during melting, holding and transfer. Heat gradually and mix as required to avoid local scorching or unmelted lumps.
Record batch, time and temperature. Discard material that has exceeded its approved history rather than diluting it into a new batch. The preheater and applicator must be coordinated so the machine receives workable material at the rate needed for a continuous line.
Record material lot, heating time and temperature with calibrated instruments. Follow the supplier limits for melting, holding and reheating. Unmelted material, scorching or excessive history cannot be corrected by simply increasing machine pace.
Which Machine Parameters Set Line Geometry?
The YG thermoplastic machine uses interchangeable hopper widths of 10, 15, 20, 30, 40 and 45 cm, corresponding to an adjustable 100–450 mm marking range. Published thickness is 1.8–3.0 mm, paint capacity 120 kg and glass-bead capacity 25 kg.
| Parameter | YG thermoplastic configuration |
| Paint bucket | 120 kg |
| Glass-bead box | 25 kg |
| Hopper widths | 10 / 15 / 20 / 30 / 40 / 45 cm |
| Marking width | 100–450 mm adjustable |
| Marking thickness | 1.8–3.0 mm adjustable |
| Machine weight | 110 kg |
| Dimensions | 1000×900×1100 mm |
| Final setup | Confirm material, screed and bead system |
The 110 kg machine measures 1000×900×1100 mm. Verify the exact screed shoe, bead dispenser and heating arrangement supplied, because line geometry depends on installed tooling and material flow.
Share the marking width, material specification, pavement condition and planned production rate. YG can review the heating and application setup around the trial-strip requirement.
Provide the thermoplastic specification, heating method and ambient conditions to check material preparation requirements.
CHECK MATERIAL AND HEATING DATA
How Are Alignment And Application Pace Established?
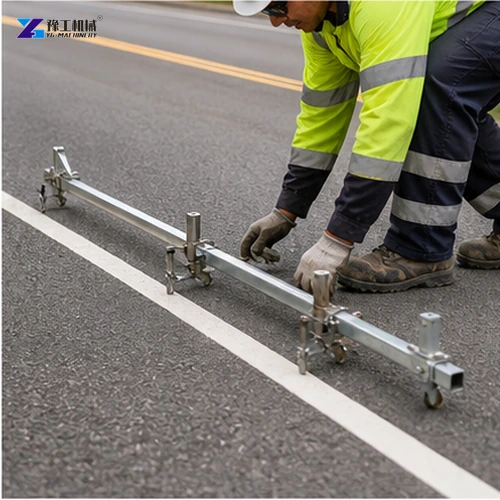
Premark control points and test the guide against curves, tapers, arrows and intersections before material reaches the shoe. The operator should maintain a pace that fills the screed without surging or dragging.
Begin with a trial strip on a prepared area, then measure width, thickness, edges and bead distribution. Adjust one variable at a time. Production should not start until the crew can repeat the accepted result at normal walking speed.
Verify the installed screed shoe, line-width adjustment, thickness setting and bead dispenser. Run a measured trial strip at normal walking speed. Change one setting at a time and approve width, thickness, edge shape and bead embedment before production.
How Should Glass Beads Be Applied And Checked?
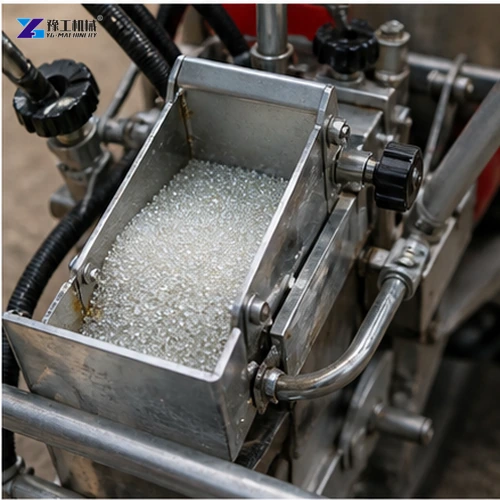
Drop-on beads must enter the hot surface at the specified rate and distribution. Check dispenser openings, drive mechanism and alignment so beads cover the full line instead of forming bands.
Excess beads waste material and can create a loose surface; too few or poorly embedded beads reduce initial retroreflection. Collect a known test length, weigh consumption where required and inspect embedment. Follow the project test method rather than judging visibility only from standing height.
Share the required line width, thickness, bead application and acceptance method so the machine configuration can be confirmed.
CONFIRM LINE QUALITY REQUIREMENTS
How Should Heating, Refill And Marking Tasks Share The Closure Window?
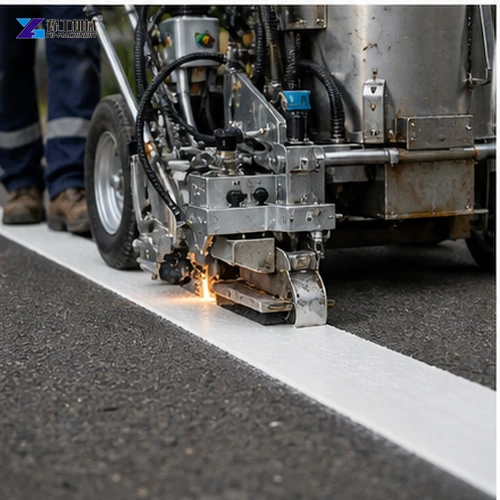
Crew balance determines whether the machine can maintain a continuous accepted line. Estimate heating, transfer, premarking, cleaning, application, bead refill, inspection and traffic-control moves as connected tasks. A faster applicator creates no benefit if the preheater or layout crew repeatedly stops it. Use the trial strip to set a practical pace, then plan refill points and safe hot-material handling around that pace. At shift end, reconcile material used with marked area and recorded thickness; a difference can reveal spills, overheating or incorrect settings. Include curves, symbols, stop bars and color changes as separate production tasks because their setup and cleaning time differs from long straight lines. Confirm spare screed shoes, burner parts, bead-drive components and cleaning tools before mobilization. This preparation prevents a minor wear item from wasting a short traffic closure. Store the accepted trial measurements with the daily quality report.
Keep the production plan tied to the accepted line rather than the fastest uninterrupted walk. Where symbols or color changes interrupt long runs, record separate setup and cleaning allowances. This shows whether a delay comes from application, material supply or work-zone organization before another machine is proposed.
What Should Be Recorded At Final Inspection?
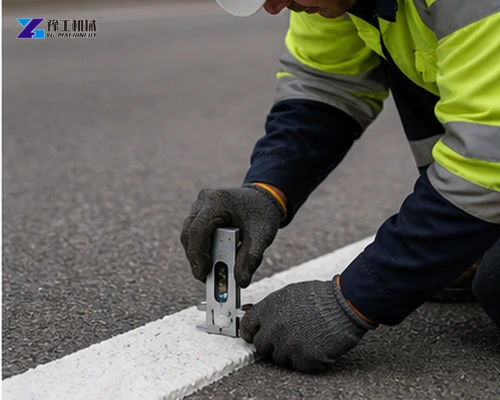
Record material lot, air and pavement condition, surface preparation, primer, temperature, machine setting, crew, line location and opening time. Measure width and thickness at the required frequency, inspect edge shape, adhesion, tracking and bead distribution, and perform retroreflectivity testing where specified.
Protect the line until it can carry traffic without pickup. Keep photographs and failed-area corrections with the daily report so later defects can be traced to conditions and settings.
Use the same measurement method and sampling frequency across the route. Isolated good readings cannot represent an entire marking run. Link each check to location, material batch and settings so failed areas can be corrected without disputing the production history. Retain the accepted trial strip records for future crews.
Use the location record to connect a failed measurement with the batch and settings actually used there. Correct the affected work under the project procedure and retain the recheck result. A revised setting should be verified on a new trial length rather than assumed to correct all future work.
The final proposal should list preheater, applicator, screed widths, bead system, controls, consumables, spares, training and the trial-strip measurements used for acceptance.
Provide the accepted line measurements, bead requirement and daily work plan when you are ready to confirm a thermoplastic striping machine configuration.
Submit the project quantities, destination and operating conditions for a suitable striping machine quotation.
Thermoplastic Striping Machine Buyer Questions
No. Surface moisture and contamination must be addressed under the approved specification.
Not safely; overheating can damage the material. Follow the declared heating history.
Blocked or misaligned dispensers and inconsistent pace can distort distribution.
Only after the material has cooled and passed the project-specific acceptance condition.
Provide the specified line width, thickness, bead requirement and daily work pattern below. The equipment package should reproduce the accepted trial while allowing for heating, changeovers, inspection and safe traffic release, not only nominal bucket capacity.